Industrial Computed Tomography systems (CT) allow you to perform accurate and reliable quality controls and metrology analysis.
The quality control based on x-ray technology allows to investigate the internal and external structure of an object, regardless of the material it is made of, its shape and size.
Computed tomography (CT) is a radiological technique that provides a three-dimensional reconstruction of an object. The process of reconstruction starts from a sequence of images (radiological projections) obtained through the object scan.
Observing the internal structure of an object and its density distribution it is possible to highlight the presence of intrusion, fractures, defects, porosity and deformation, as well as to perform metrological analysis.
The technique allows automatic and accurate measurements of both the product and the detected defects.
Casting products, electronic components, medical devices, molded parts, food packaging and medications can be analyzed by radiological techniques, with very interesting results as far as quality assurance of industrial processes are concerned.
Reverse Engeneering or Rapid prototyping applications are also available. Industrial CT outcome can be compared with CAD data, highlighting the differences.
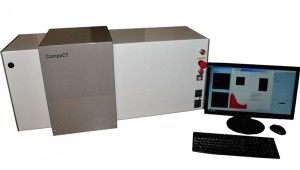
Industrial quality control systems based on X-ray technology are safe and self-shielded. Their use does not cause safety problems; the area subjected to radiation is screened off and the operators do not have access. Basic applications use few hundred watts x-ray generator.
ARS systems are designed to meet customer requirements and are characterized by a very compact design.
Applications:
Industrial Computed Tomography systems allow fast, non-destructive and precise controls.
Depending on customer’s needs different software modules are available:
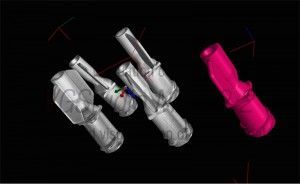
- Reconstructed volume visualization: from radiological projections obtained by the tomographic scanning the system software reconstructs a 3D density matrix of the object. In addition to the planar reconstructions, 3D reconstructions are available. There are several protocols reconstruction. The most used are Maximum Intensity Projection (MIP), volume rendering (VR) and Surface Rendering (SR).
- Quantitative analysis of porosity and inclusions: analyzing the internal structure of the product, inclusions of material, bubbles and porosity can be identified. When revealed, defects can be accurately measured; alarm thresholds can be created according to the applications necessity.
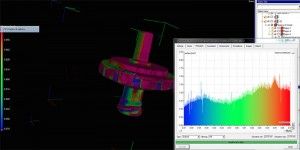
- Wall thickness analysis: where a tolerance must be verified it’s possible to measure walls thickness; deviations from the expected value are highlighted with color and numerical information.
- Metrological analysis: it guarantees accurate measurement of distances, thicknesses, angles. Industrial Computed Tomography systems can also carry out reverse engineering analysis, comparing reconstructed object with corresponding CAD model and highlighting differences.


